
Introduction
Creating clean and attractive gaming thumbnails is an essential aspect of creating engaging content on YouTube. Thumbnails play a crucial role in grabbing the attention of viewers and encouraging them to click on your videos.
In this blog, we will discuss a step-by-step tutorial on how to create eye-catching thumbnails using Photoshop.
Step 1: Setting up the Project
To begin, open Photoshop and create a new project with a resolution of 1920 by 1080 pixels, which is the standard ratio for YouTube thumbnails.
Set the background color to white by pressing Control + I and inverting the background color.
Step 2: Enhancing the Image
Next, import the desired image into the project. Select the image layer and convert it to a smart object.
Apply the Camera Raw Filter by going to Filter > Camera Raw Filter. Adjust the brightness and exposure levels to enhance the image.
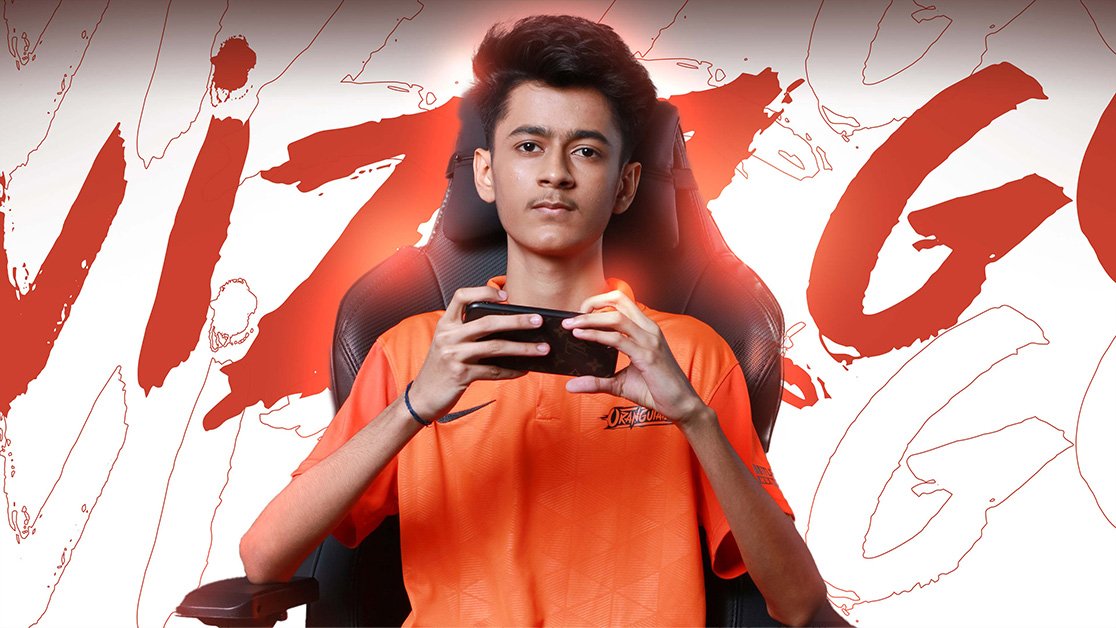
Step 3: Resizing and Positioning the Image
Now, resize the image to fit the thumbnail using the scale curve tool.
Resize it accordingly and position it as the background.
The background should be simple and clean to highlight the text and other elements.
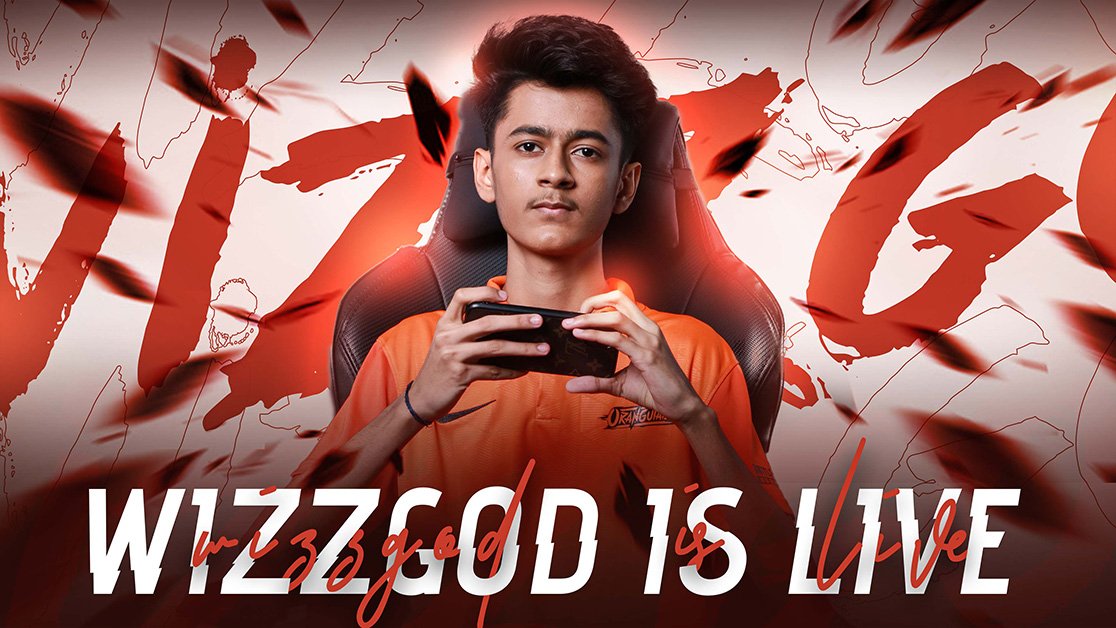
Step 4: Adding Text and Gradient
Add text to the thumbnail using the Text tool.
Change the font to something bold and eye-catching, such as Euro Font.
Set the letter spacing to 30 and the font size to 30. Position the text to your preference.
Also, read – Get your first client as a graphic designer
Step 5: Applying Styling Effects
To make the text stand out, duplicate the text layer by pressing Control + J.
Fill the duplicated layer with 0% opacity by double-clicking on it and adjusting the blending options.
Apply a stroke effect with a size of 1 and the same color as the text.

Step 6: Adding Inner and Outer Glow
Next, apply an inner glow effect to the text layer using the blending options.
Set the size, color, and opacity to your liking. Apply an outer glow effect with the same color and adjust the size and opacity.
These effects will give the text a three-dimensional appearance.
Step 7: Adding Brush Strokes
To add some artistic flair, create a new layer and apply a linear dodge effect using a brush tool.
Use a brush with a 50% opacity and create strokes on the left side of the thumbnail. This will add depth and visual interest to the overall design.
Step 8: Applying Gradients and Effects
Create a new layer and use the gradient tool to apply a gradient effect to the thumbnail.
Adjust the gradient length and control points to achieve the desired effect.
Experiment with different gradients and colors to find the perfect combination.
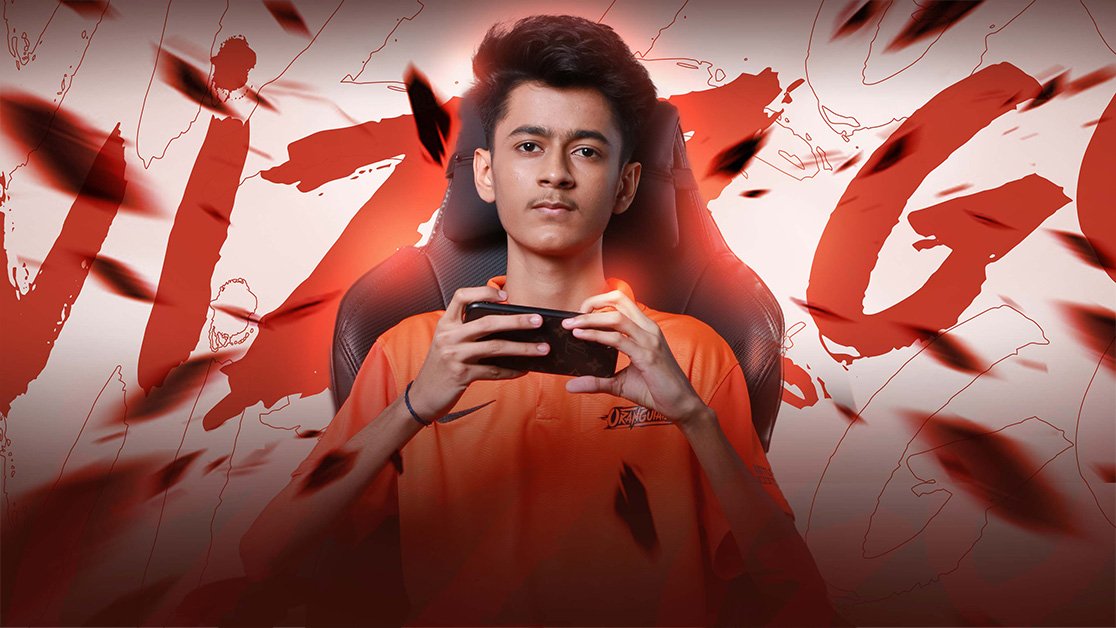
Step 9: Adding Effects and Final Touches
To make the thumbnail more visually appealing, add effects using PNG files.
Apply layer masks to these effects to blend them seamlessly into the design.
Experiment with different effects and positions to create a unique and captivating thumbnail.
Step 10: Finishing Touches
Once you are satisfied with the thumbnail design, group all the layers together.
Disable the text layer that contains the title of the video to avoid redundancy.
Make sure to disable any unnecessary layers to keep the design clean and clutter-free.
Also, read – How to become a graphic designer
Conclusion
Creating clean and attractive thumbnails is crucial for driving views and engagement on YouTube.
By following this step-by-step tutorial, you can create eye-catching thumbnails that will capture the attention of viewers and make your videos stand out. Experiment with different designs, colors, and effects to find the style that best represents your content. Don’t underestimate the power of a compelling thumbnail in attracting viewers and growing your channel. Happy designing!
Hope you enjoyed reading this article.
And if you have any suggestions or queries in mind feel free to ask me in the comments.